Fireplace #200-1G

To facilitate the assembly of your outdoor fireplace, refer to the plan received at the purchase of your fireplace and to the assembly's general section for more advices.

Put the tiles at the level.

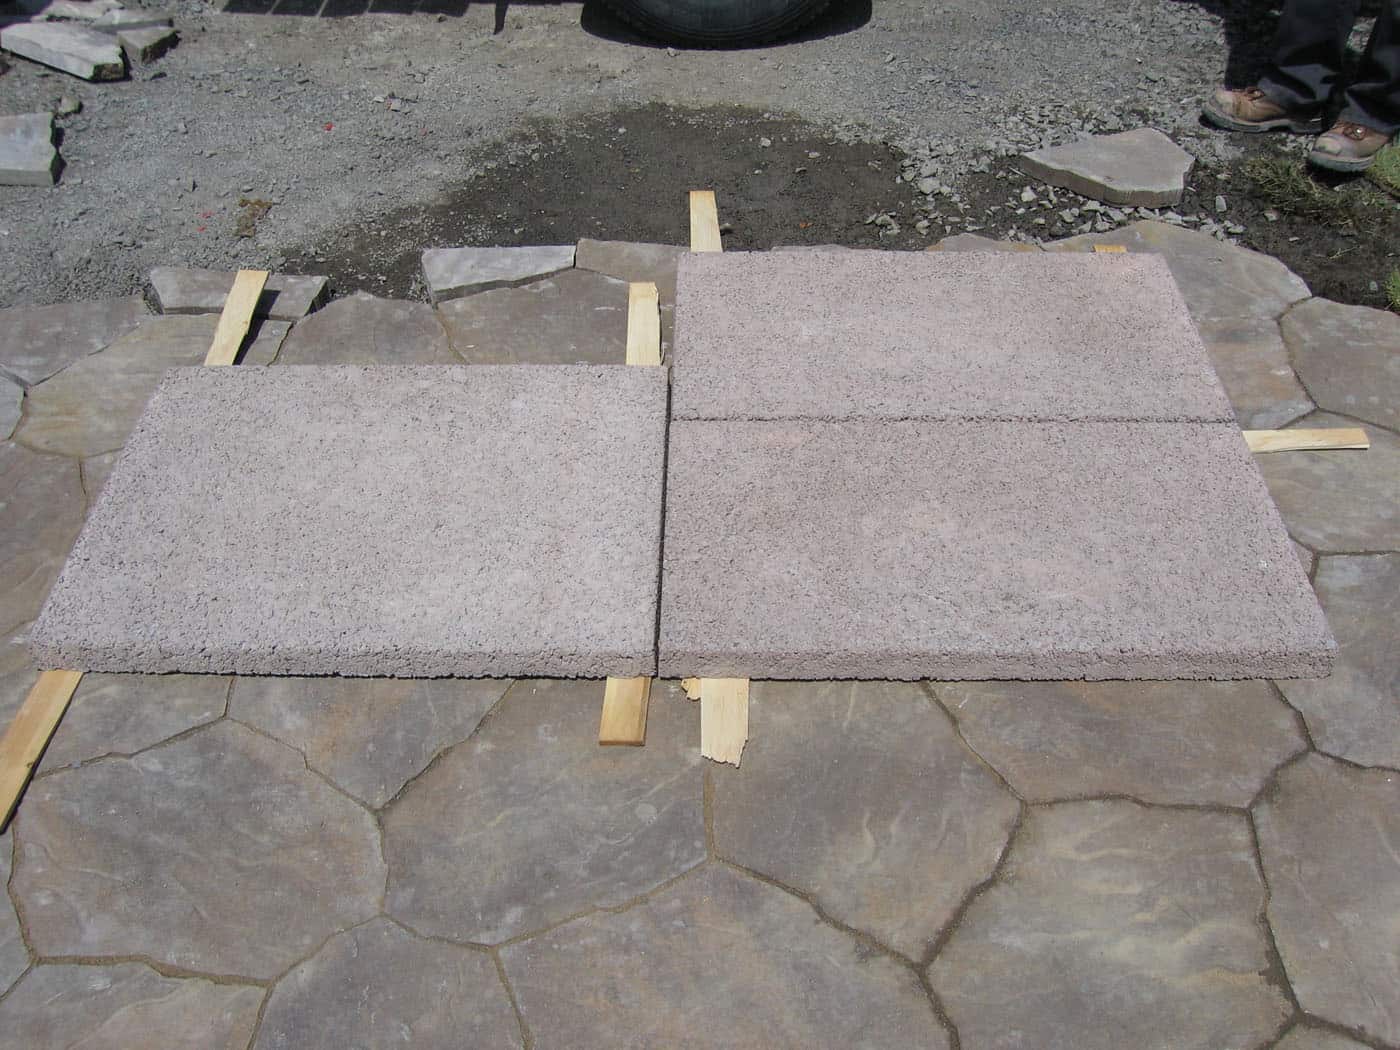
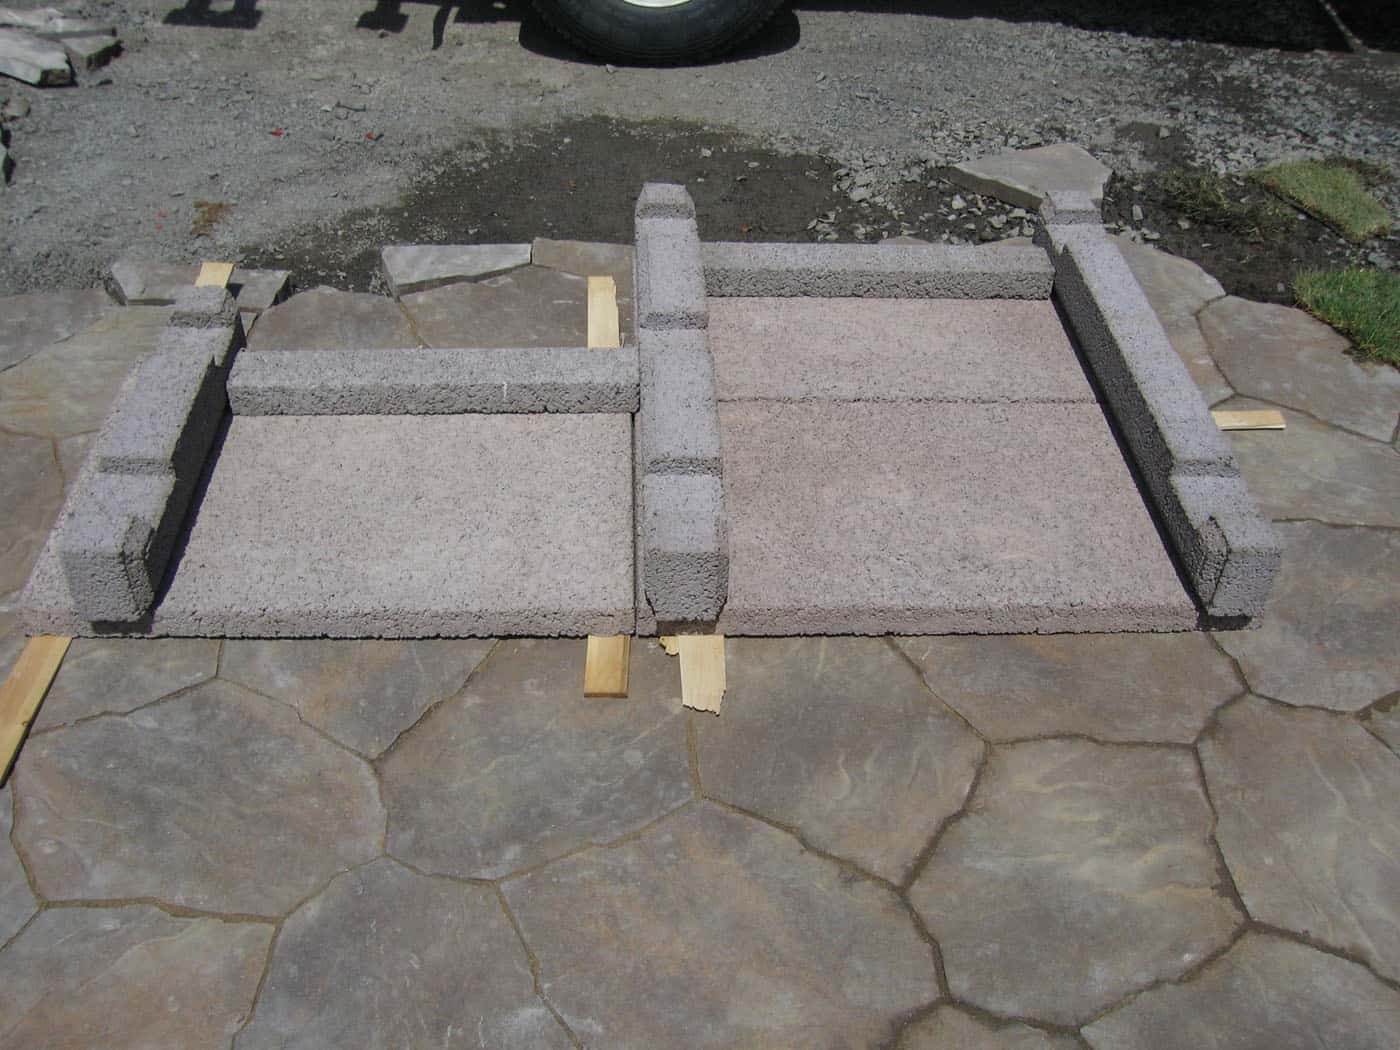
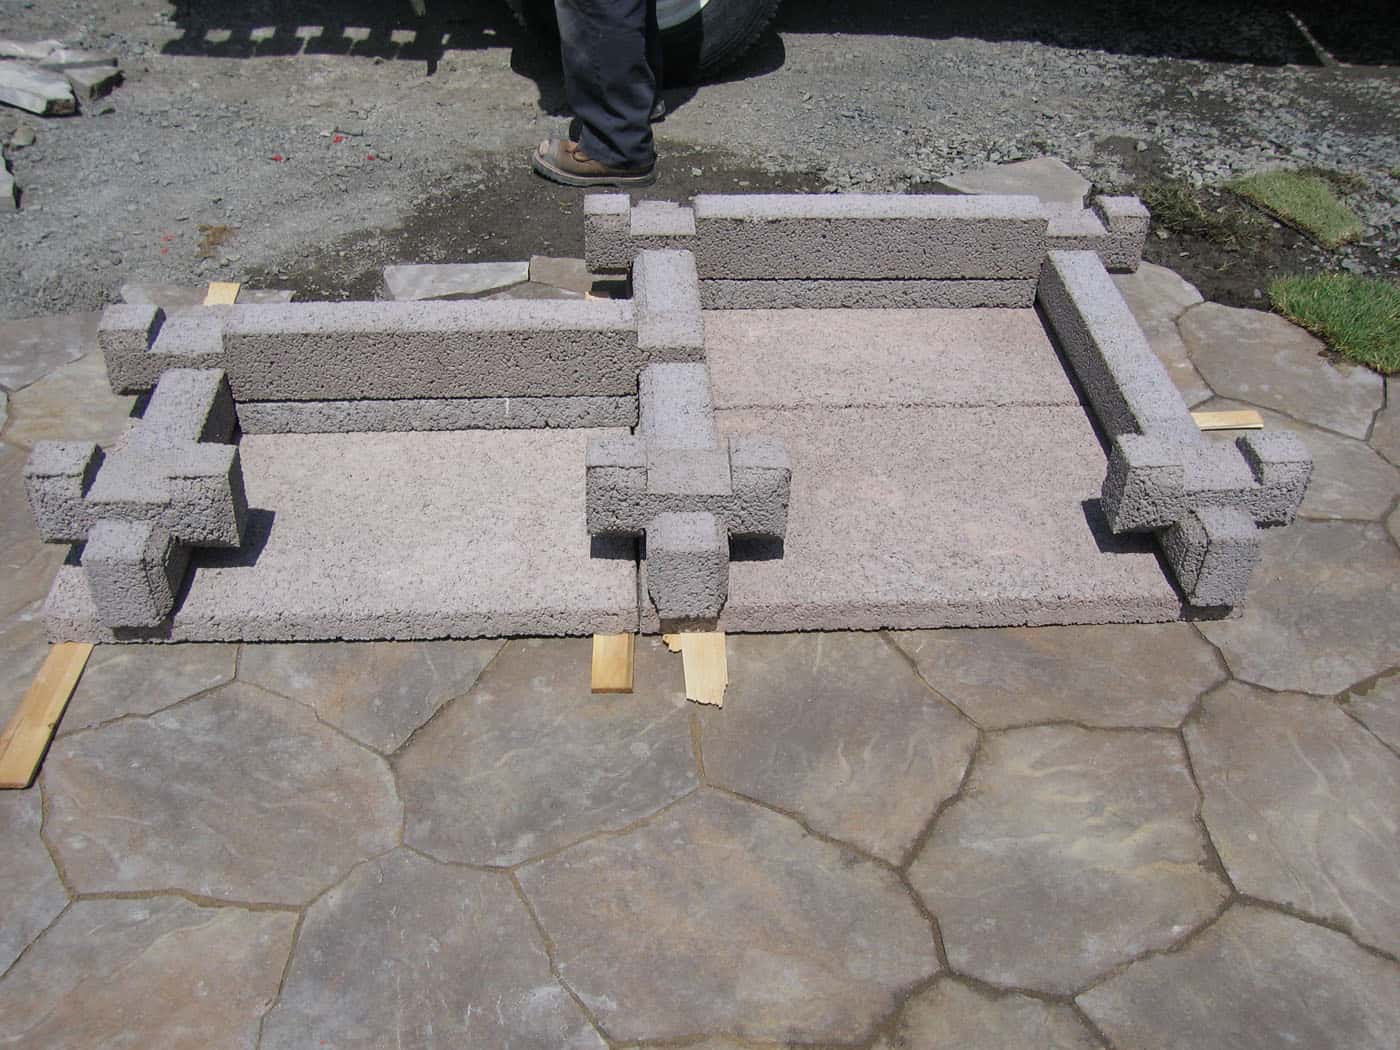
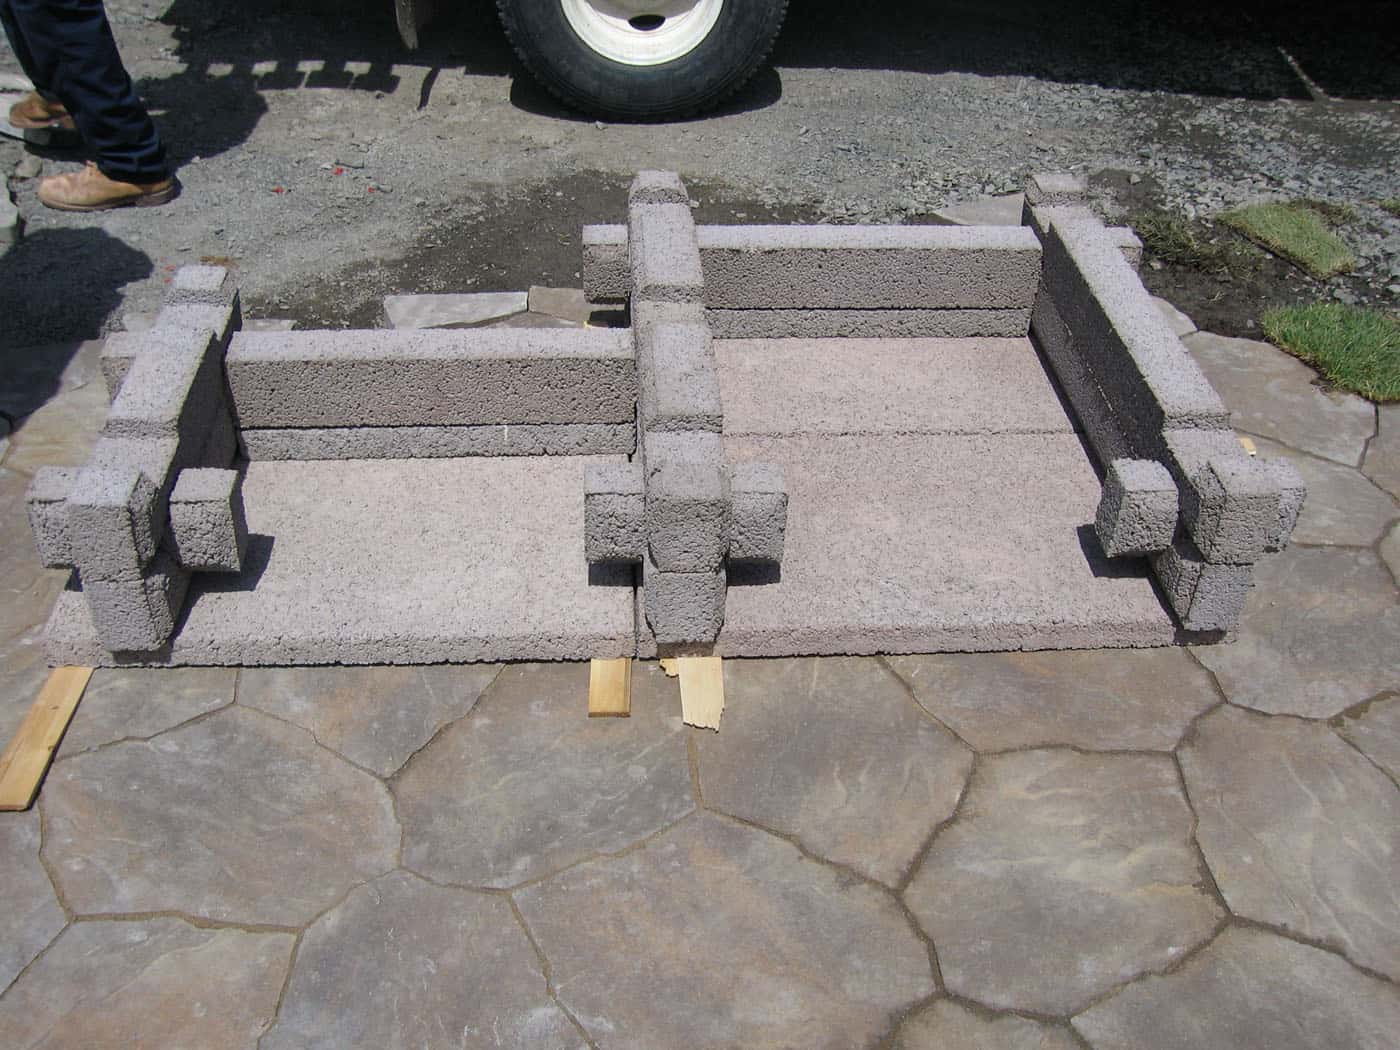
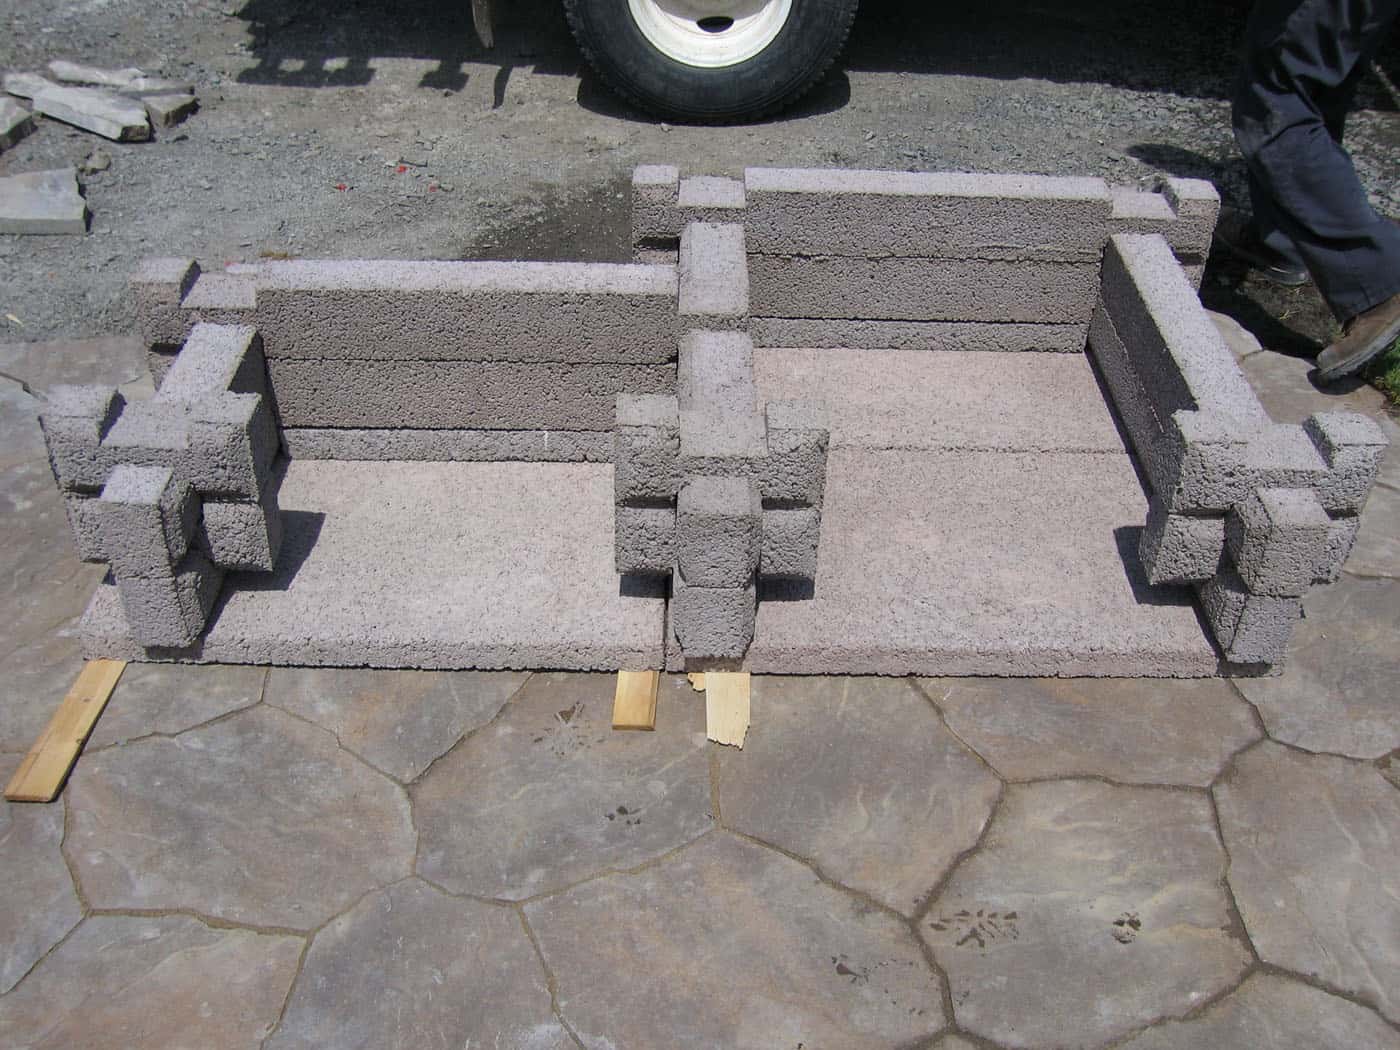
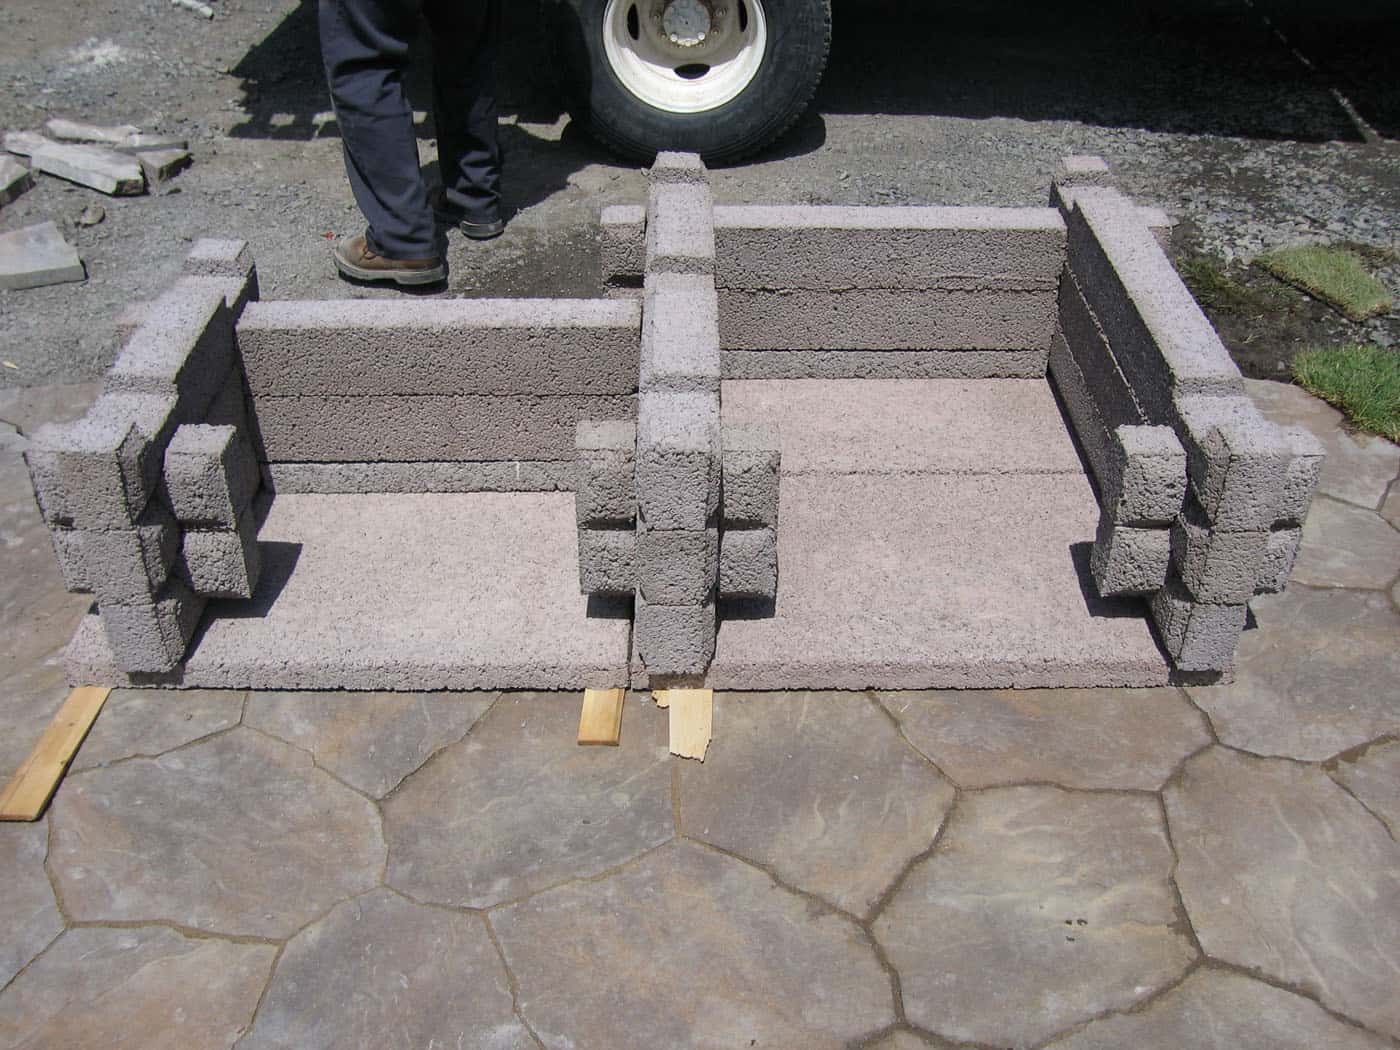
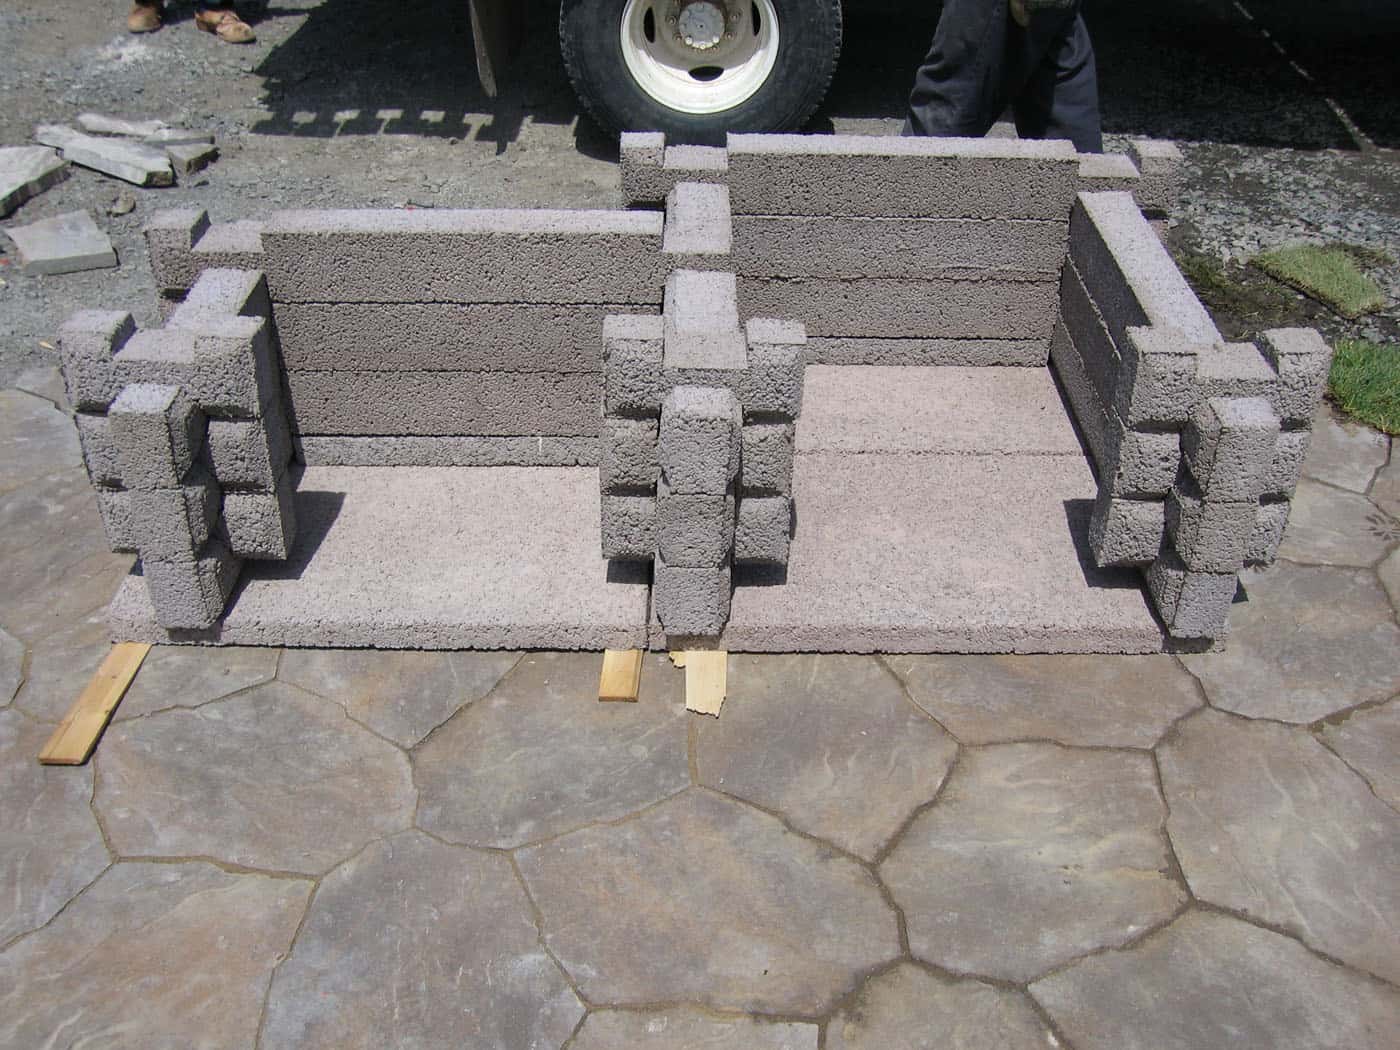
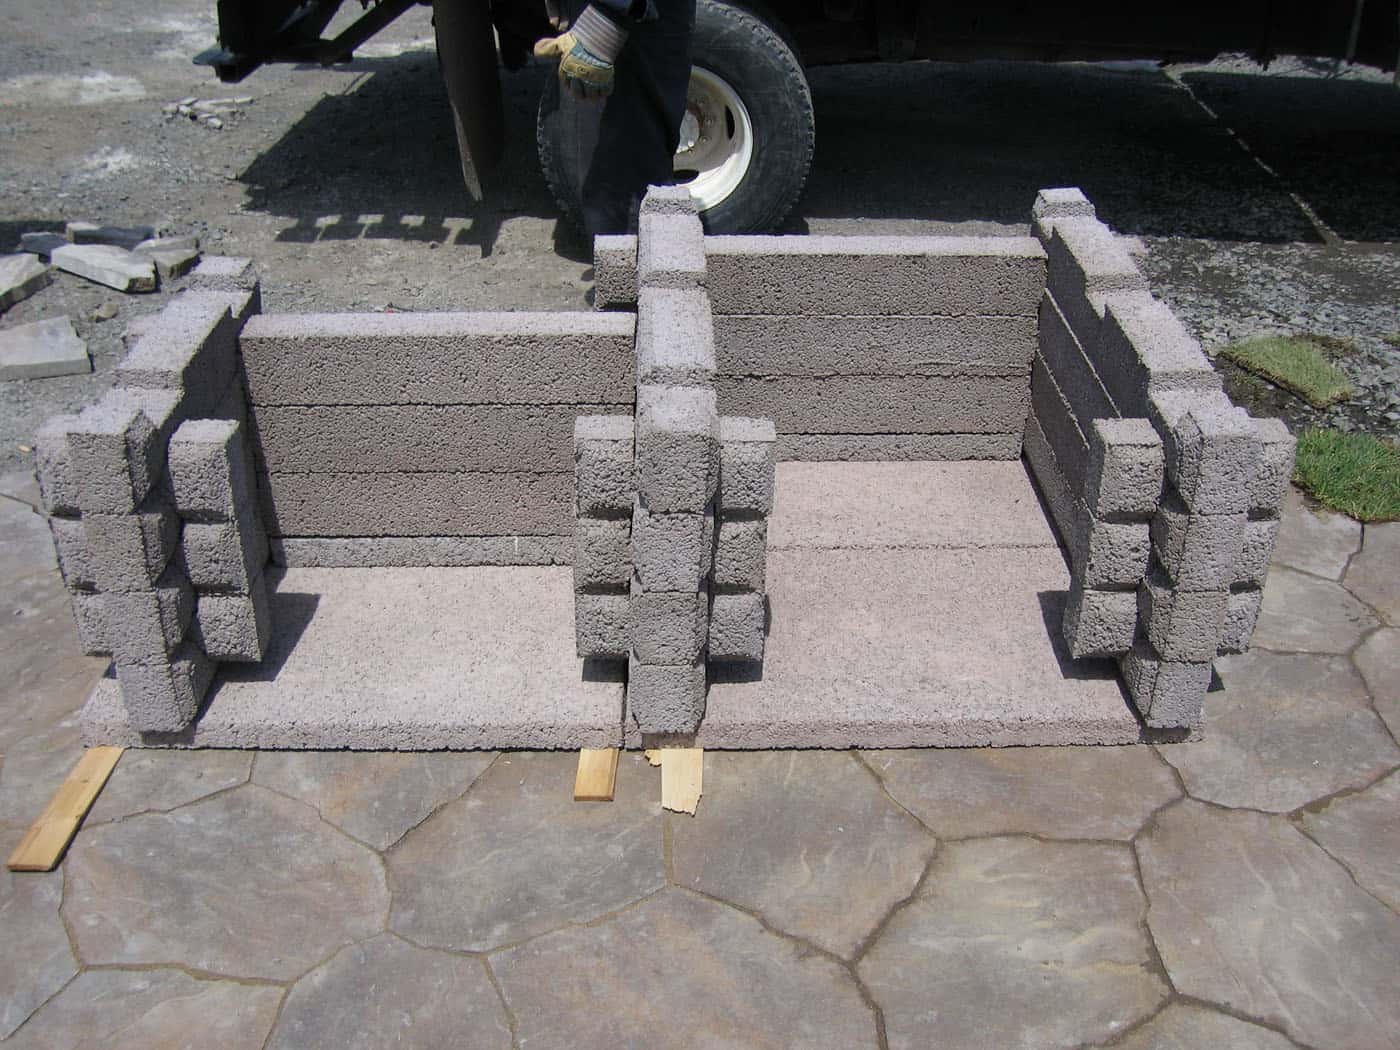
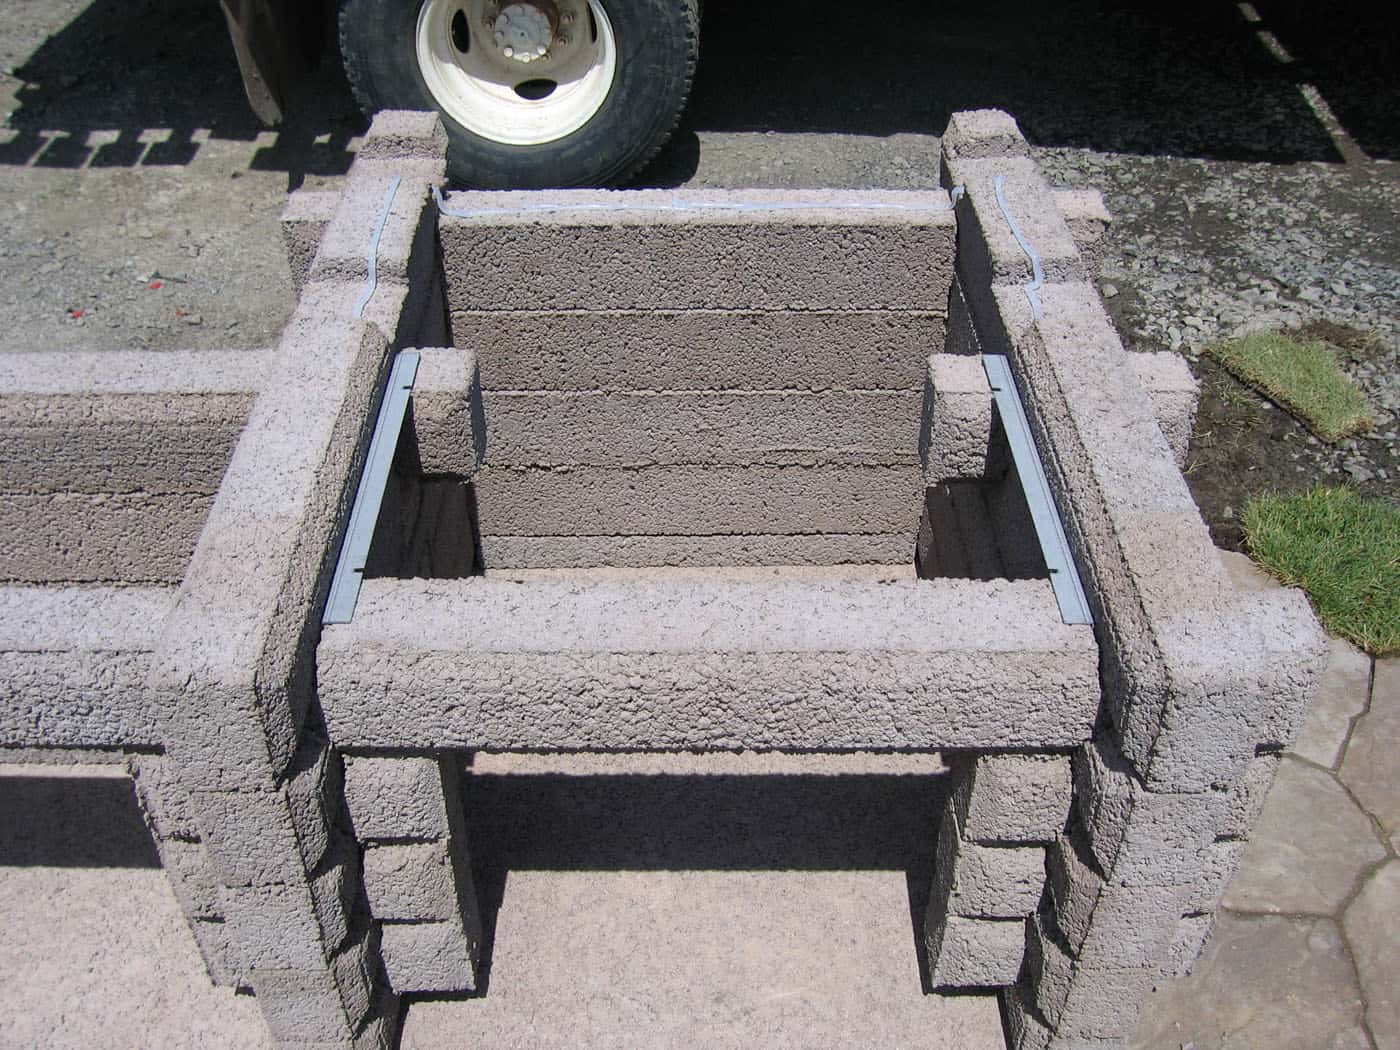
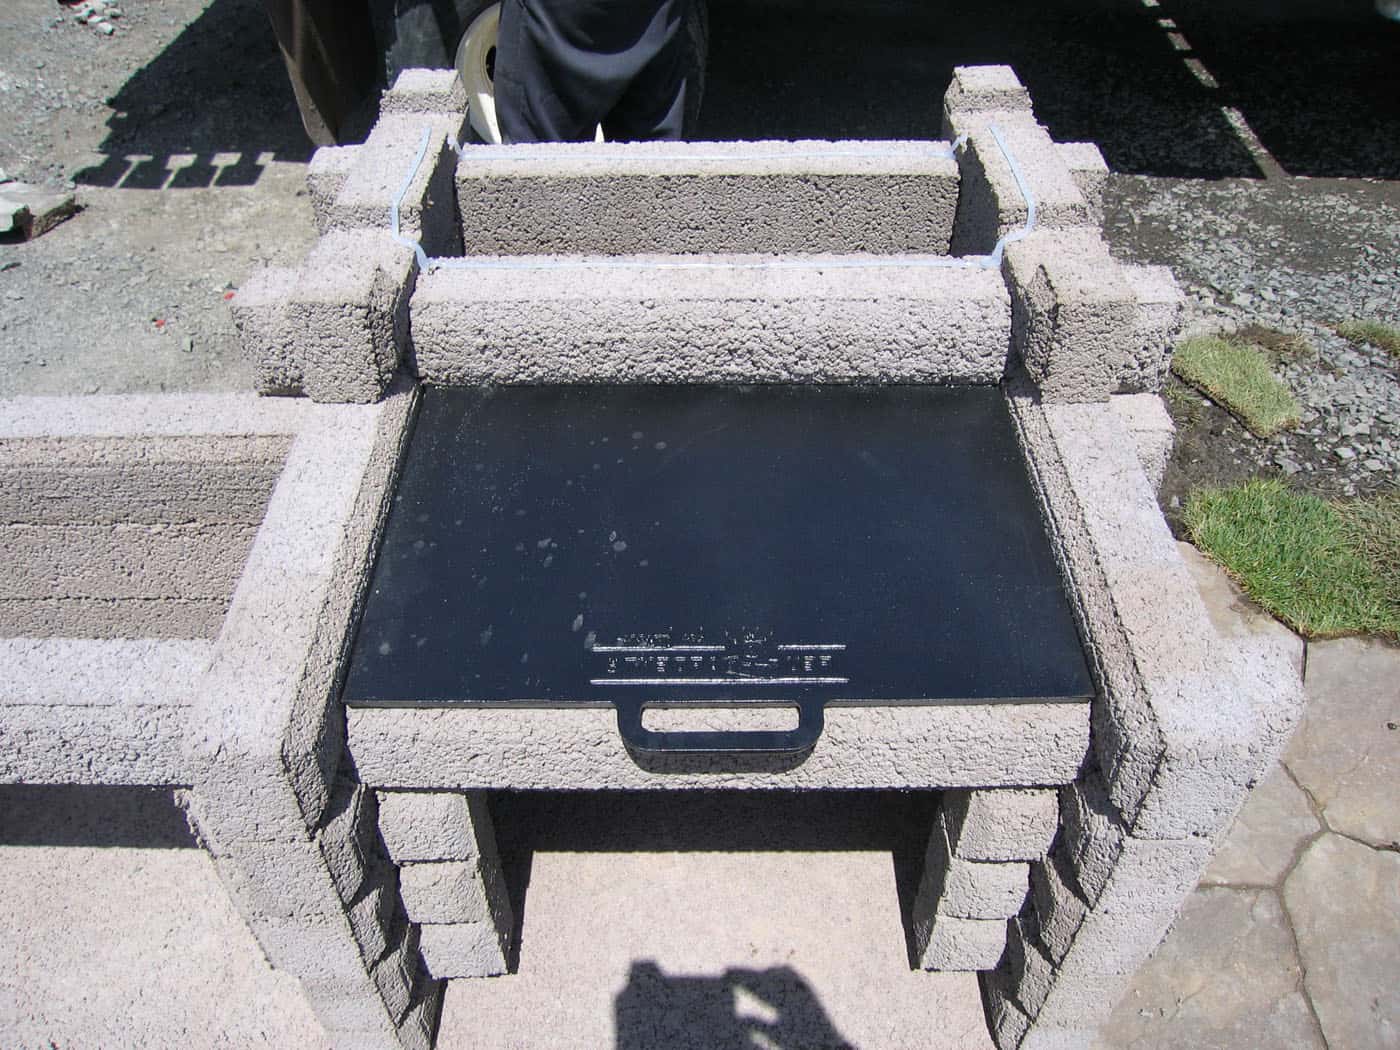
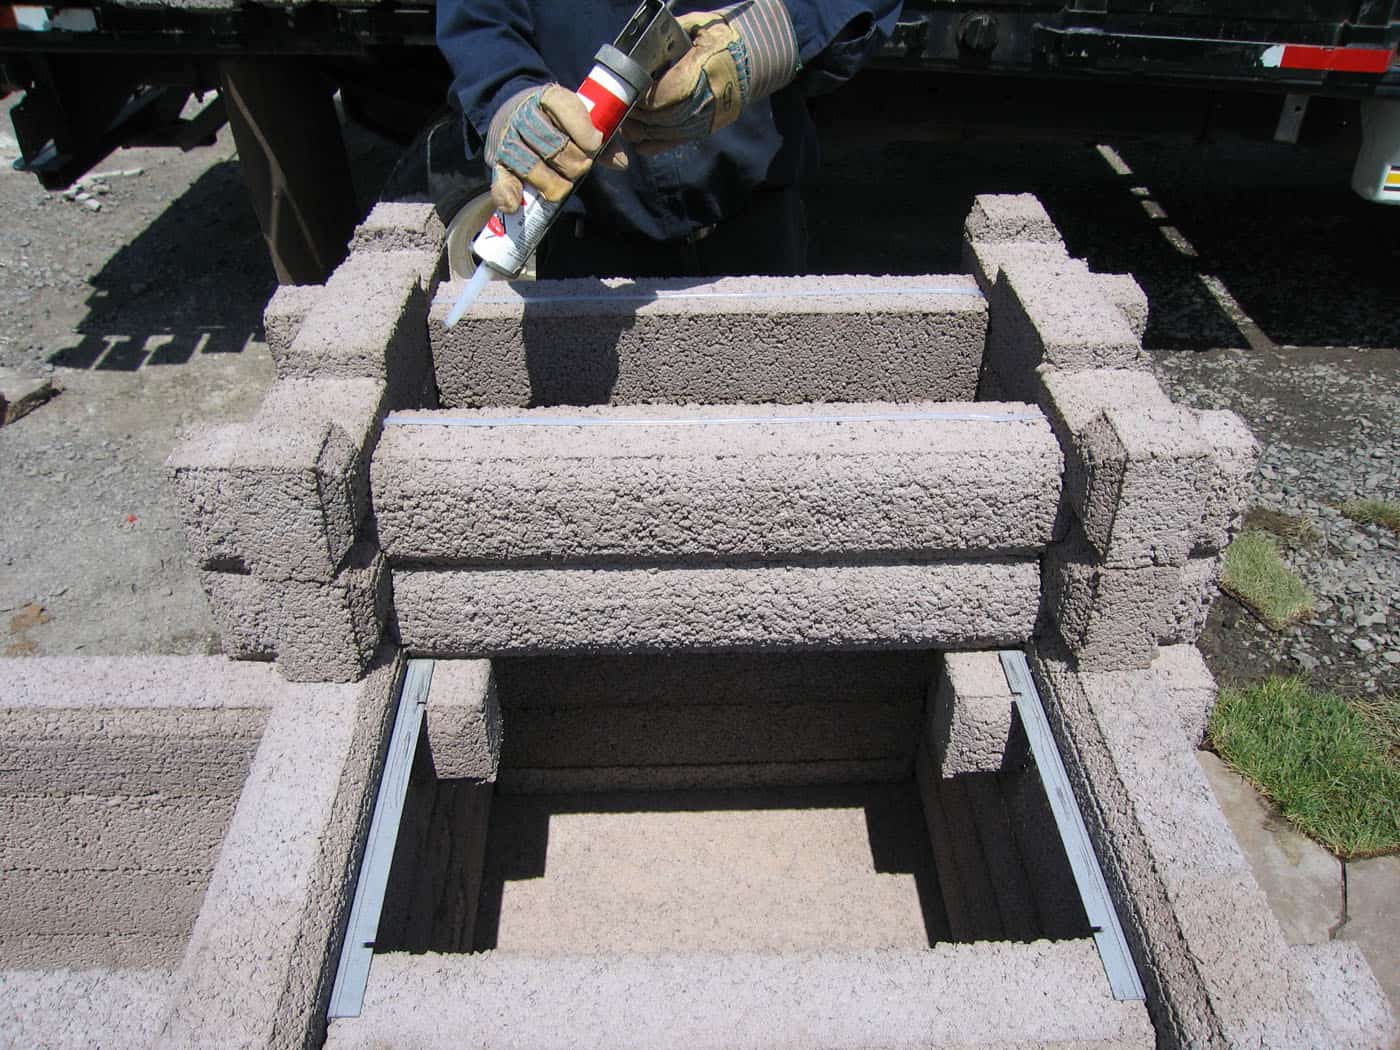
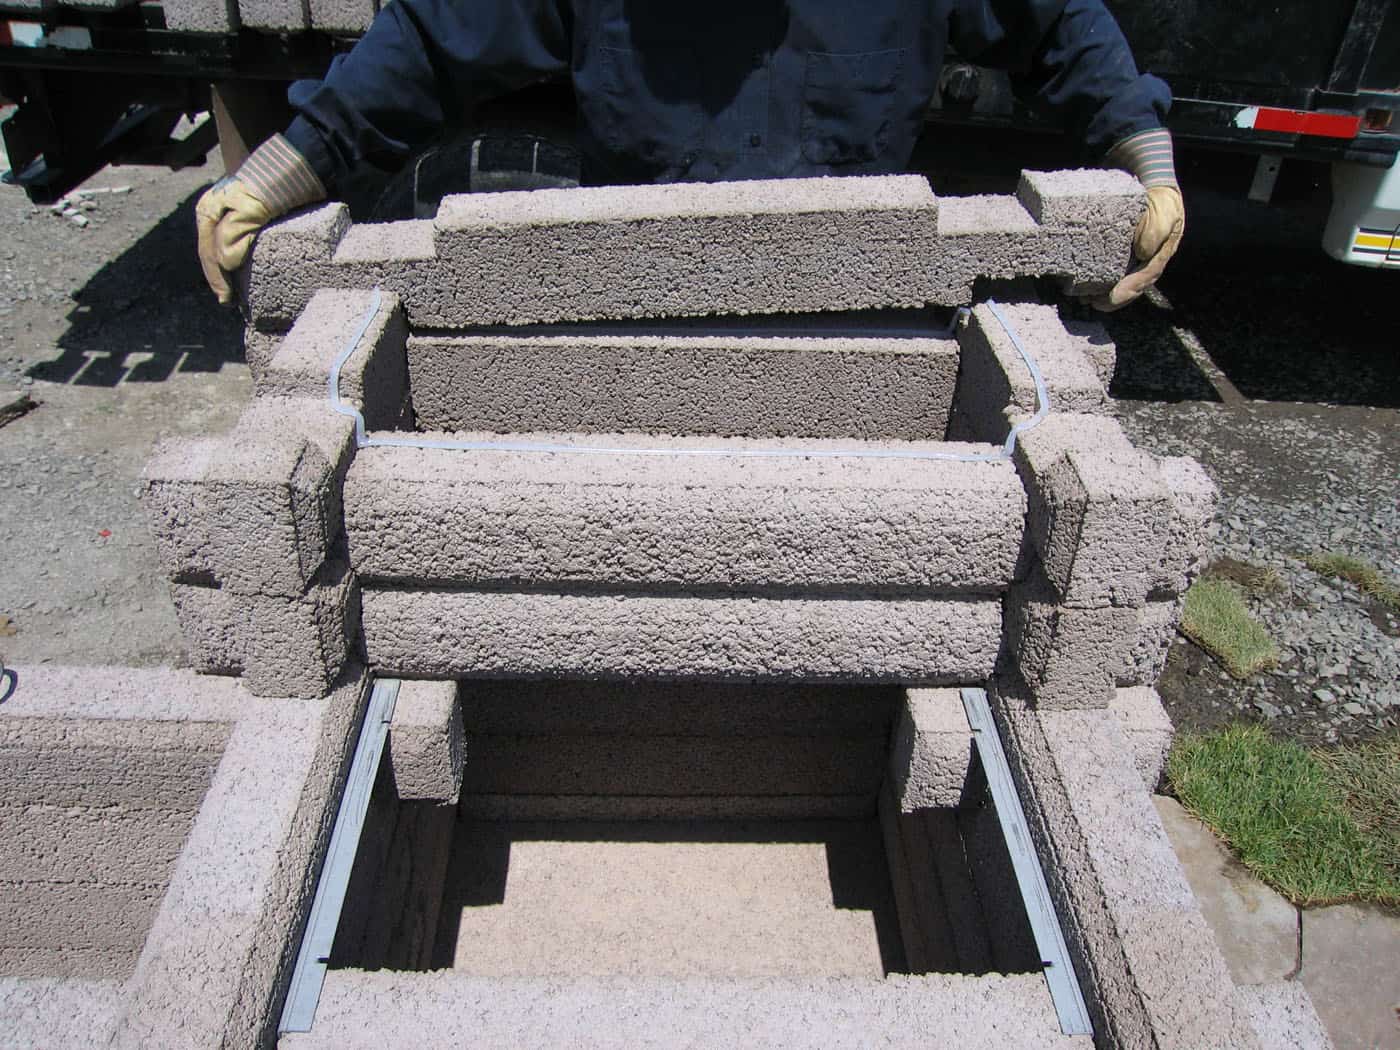
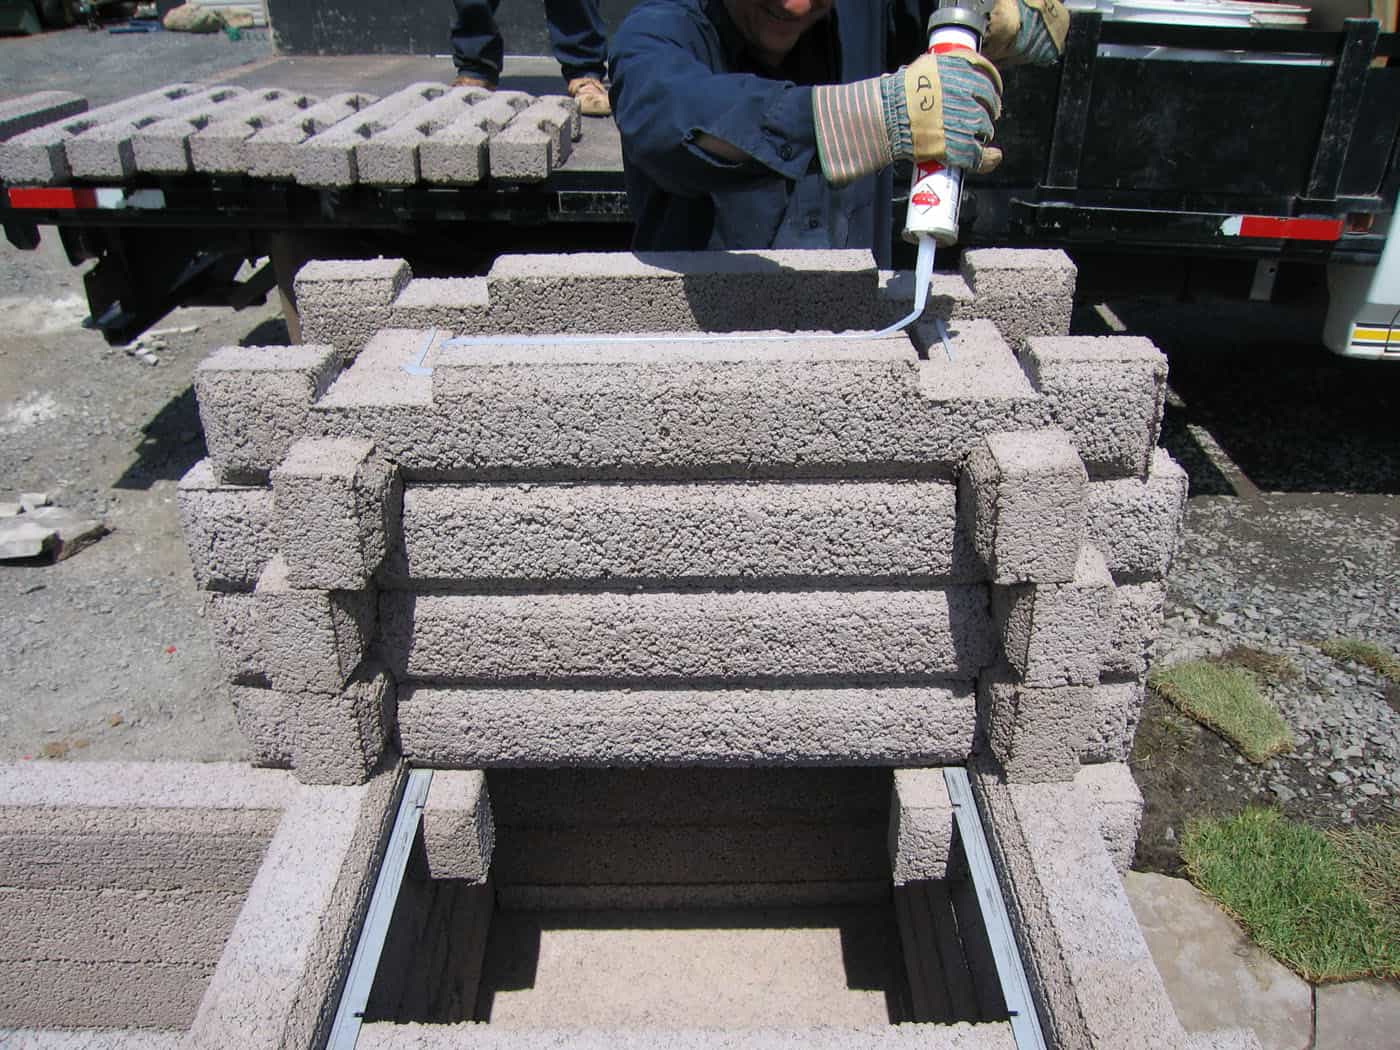
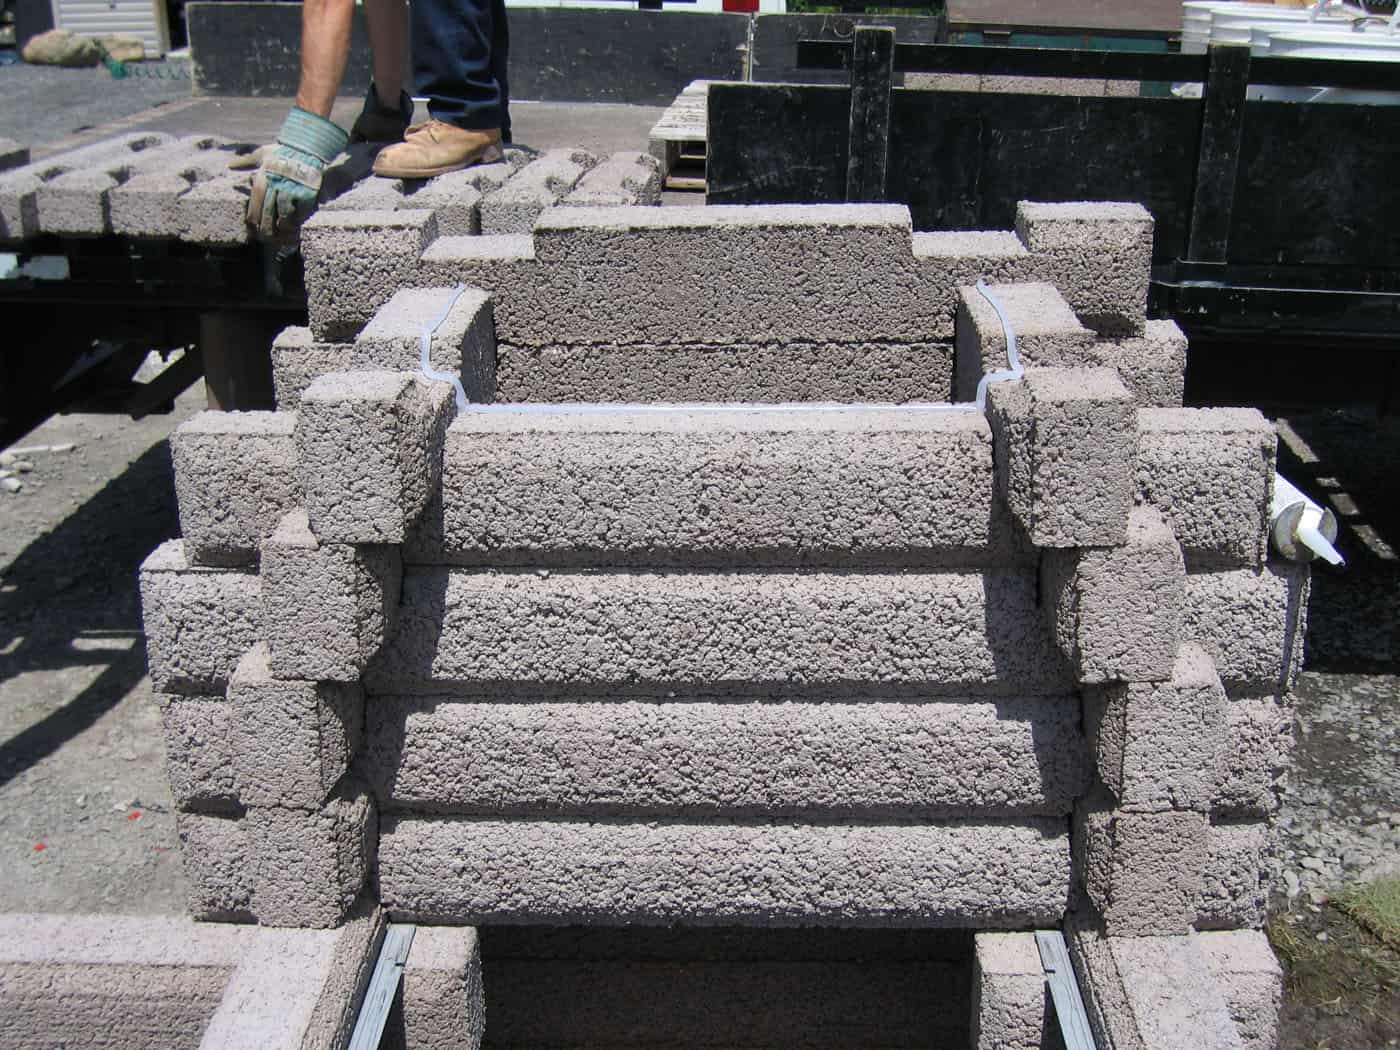
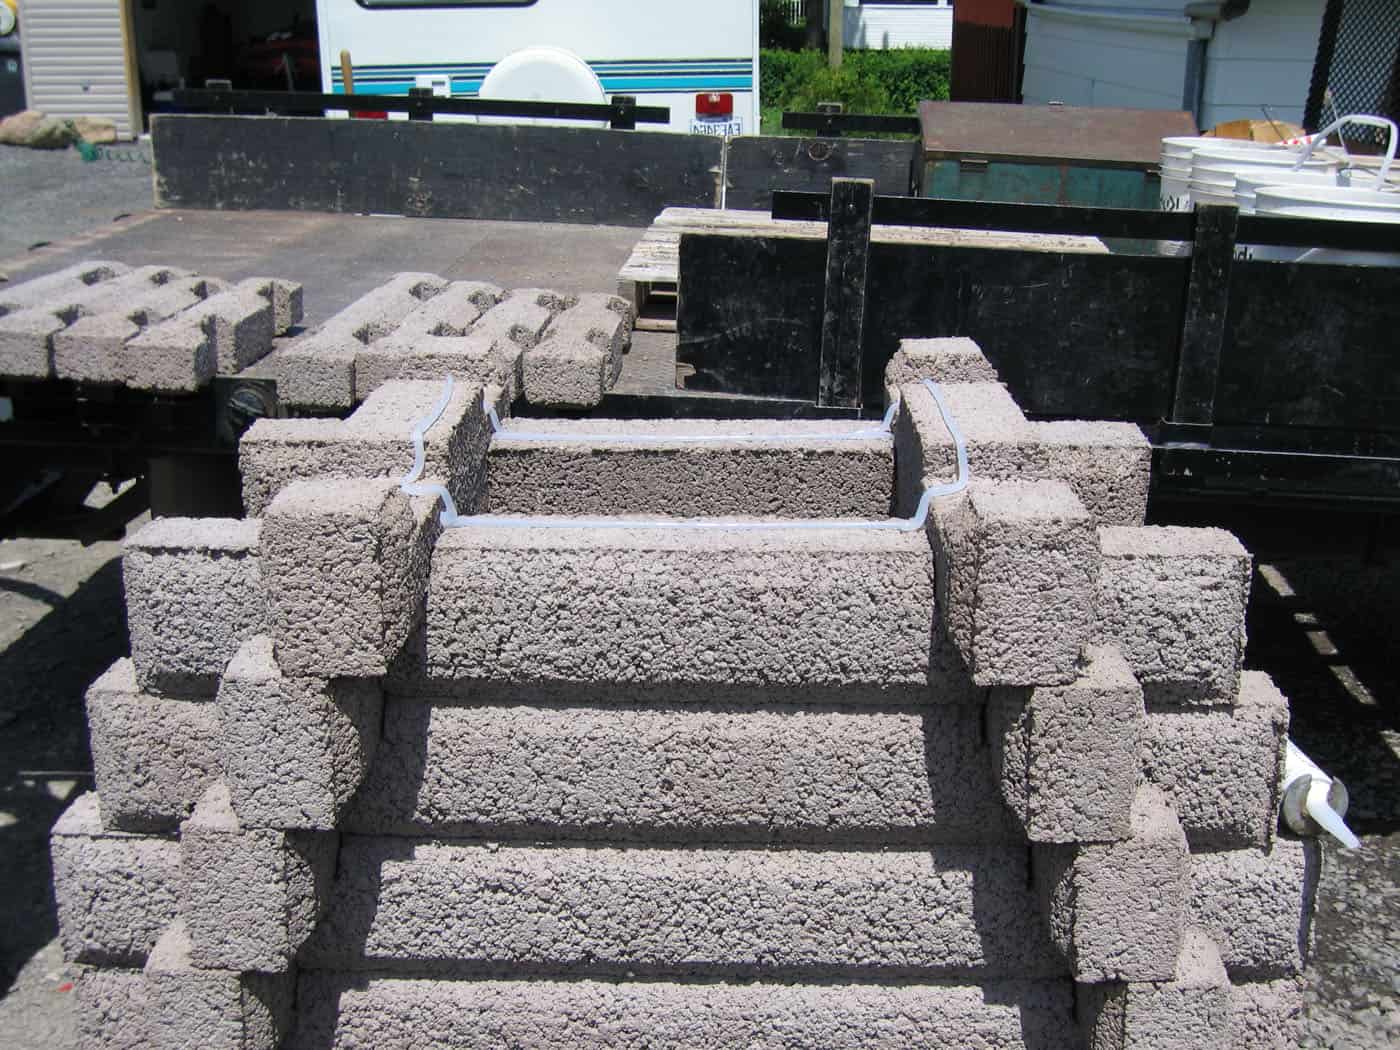
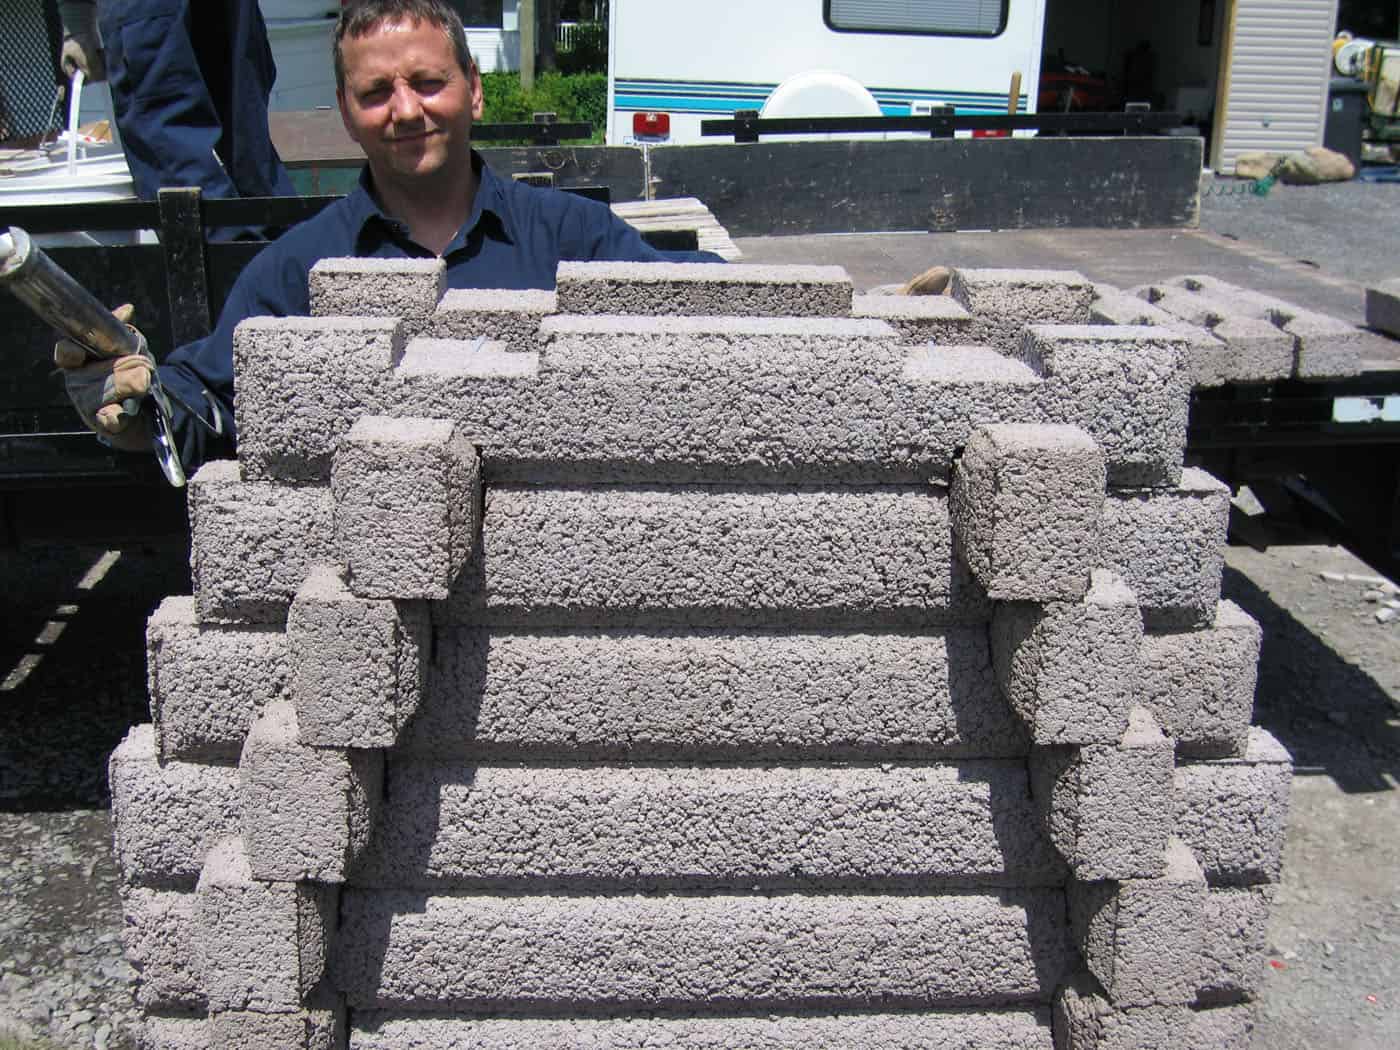
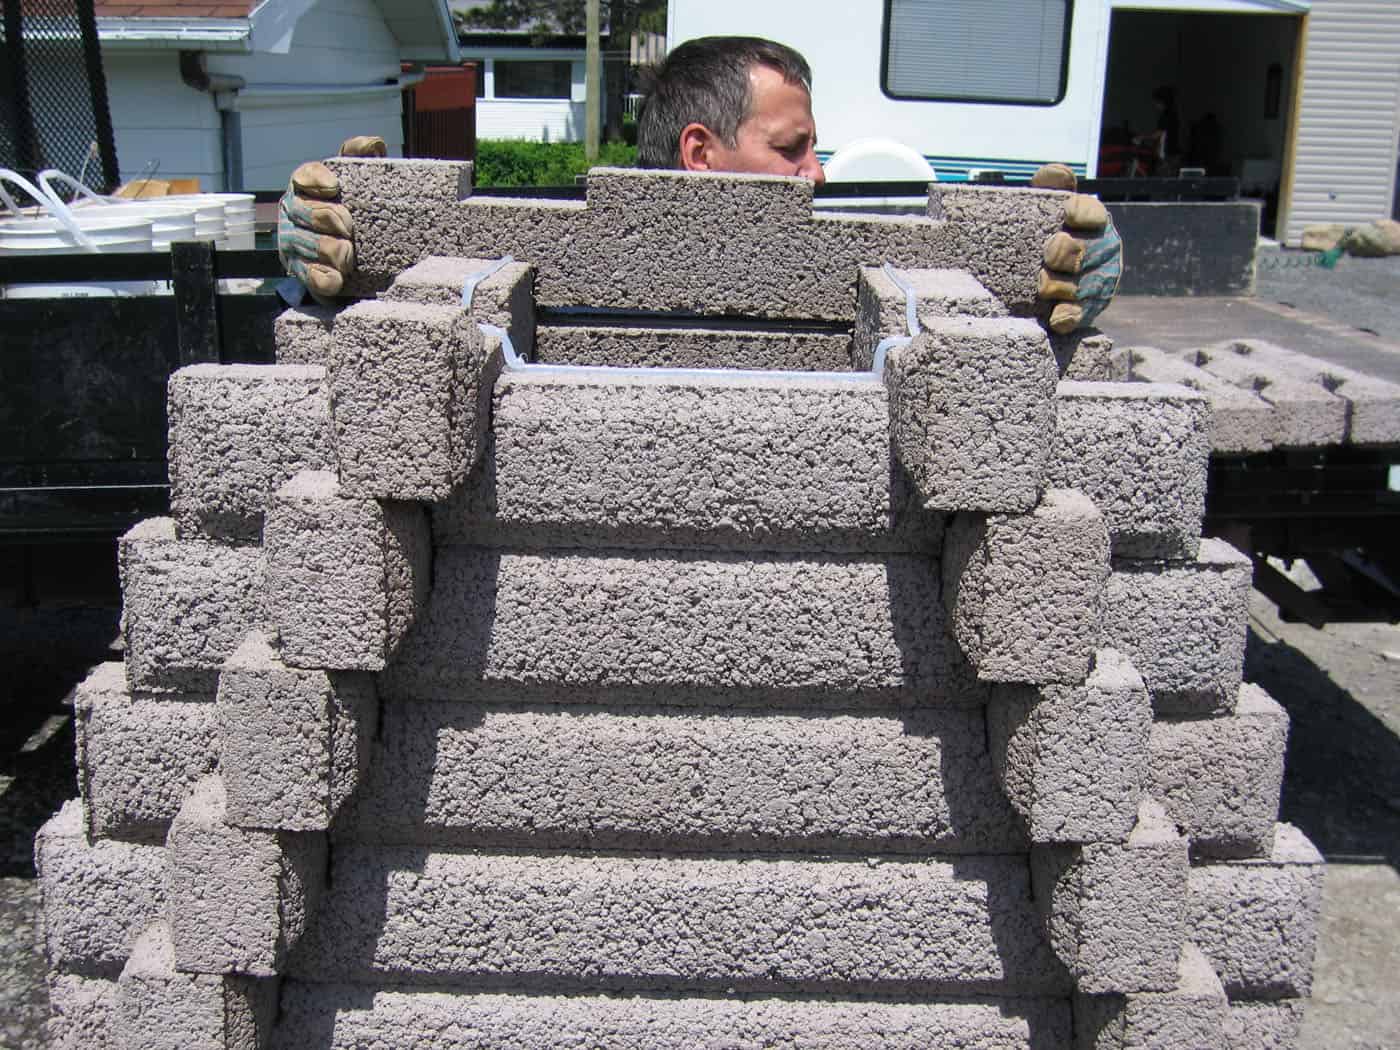
Place from left to right the Start 26”, an Half-Block 26”, the Start 3 Notches 42”, the other Half-Block 26” and the Start 42”. Place the Start 26” in line with the back of the tile. Place the others blocs so that the mortise can receive the subsequent blocks.
Tip : Mesure the distance at the front of the block and keep the same for the other Start blocks.
Reminder : The flat side of each block goes inside the fireplace.

Place 3 little blocks of 12” at the front, a 42” (4 notches) at the back of the hearth of the fireplace and the Beaver 39” to form the back of the box for wood.

Place a block 26” (4 notches) at the left, the 6 Notches 42” and a block of 42” (4 notches) at the right of the hearth.

Place 3 little blocks of 12” at the front, a 42” (4 notches) at the back of the hearth of the fireplace and the Beaver 39” to form the back of the box for wood.

Place a block 26” (4 notches) at the left, the 6 Notches 42” and a block of 42” (4 notches) at the right of the hearth.

Place 3 little blocks of 12” at the front, a 42” (4 notches) at the back of the hearth of the fireplace and the Beaver 39” to form the back of the box for wood.

Place the last block of 26” at the left, the block 6 Notches 42” on the middle wall and the block 5 Notches 42” at the right.

Place the Front Left Arm 36” in front of the box for wood, the Back Left Arm 42” at the back of the box for wood, at the back of the hearth a 42” (4 notches), a little block of 12” in the middle of the 5 Notches on the right and the Center Special 36” in front of the hearth.
Tip : Put some silicone under and on the 12” and the Back Right Arm 42” to
prevent the smoke to comes out from there.

Place your 2 blocks Arm 5 Notches 42” left and right. Put in place your slides so that you can remove them at any time. From here you can start putting a thin fillet of silicone (1/4 inch) in the chimney section.

Place the 2 blocks 42” (4 in line notches) and 2 blocks of 24” on each side of the chimney. At this stage, you can try your plate. You will find out if your new outdoor fireplace is square. It is still time to move it a little!

Place the 2 blocks 42” (4 in line notches) and 2 blocks of 24” on each side of the chimney. As the chimney will decrease, put the silicone closer to the inside. This way it will not be visible from the outside when you will put the next stone.

Place the 2 blocks Chimney 42” (4 off-center notches).

Place 2 blocks of 24” and 2 blocks Chimney 38 5/8”.

Place 2 blocks of 24” and 2 blocks Chimney 35 1/16”.

Place 2 blocks of 24”.

Place the 2 blocks Chimney 31 7/16”.

Place 2 blocks of 24” and 2 block Chimney 27 7/8”.
Reminder : Do not apply silicone in your last row as it is where you will put the spark catcher. Over time it will burn and it will be easier to replace.

Place 2 blocks of 24” and the spark catcher.

Place the 2 blocks Top 24”.
That ends the assembly of your outdoor fireplace.

What they think about us.

Scroll to Top

Update

Due to the very high demand for our models of outdoor fireplace and our production capacity, we are currently forced to produce them only in gray and beige for the moment.